Creating a Messenger Chatbot with Google Translate using Heroku, Chatfuel, NodeJS, and Python

Our colleagues have prepared some nice Python code with Google Translate and we look for a quick way to deploy to Messenger. We have decided that the quickest way would be to use the following tools: Chatfuel (for connecting to Messenger), NodeJS for server side connection, and Heroku to upload both the Python code and the NodeJS code.
In this exercise, here is what we did:
- Implement the Google Translate portion in Python. Use Flask to help generate the web framework. In the main python program, it merely does the @app.route function which calls on another function to do the Google translate.
# main program

from flask import Flask

#actually i should have called it, droid and c3po. :)

from jedi import yoda

app = Flask(__name__)

#### accepts user input and then translate

#### don't forget to set google environment

@app.route('/user/')

def FunTranslate(userphrase):

inputtext = userphrase

translated = yoda(inputtext)

return translated

if __name__ == '__main__':

app.run()
For the function which will connect to Google Translate, we just slightly modify the Google example to allow user input. In this example, we just ask for the translation from English to Russian. You can do it in multiple languages or ask users to define.
def yoda(original):

from google.cloud import translate

translate_client = translate.Client()

#text = u'Hello, world!'

text = original

target = 'ru'

translation = translate_client.translate(

text,

target_language=target)

yousaid = u'Text: {}'.format(text)

finalwords = u'Translation:

{}'.format(translation['translatedText'])

return finalwords
2. Upload the Python code onto Heroku.
Notes: (1) Initially, we used Anaconda to run the Python code, but it turns out that we would create a huge slugsize > 700 MByte. So, we need to pip install everything one by one on command terminal. (2) Running through Anaconda also generates many dependencies that Heroku will reject because of version incompatibility and other issues. (3) It is important to let Heroku recognize the Google credential by running the command
heroku config:set GOOGLE_APPLICATION_CREDENTIALS=‘config/keyFile.json’

3. NodeJS code. An easy way to try could be using Glitch.com to experiment first.
4. The NodeJS code will also be uploaded to Heroku. The web link will then be added to Chatfuel through the JSON API section. (Comment: Technically, if you use service such as Glitch.com, you can just use the web link generated by Glitch. )
The app.get portion of the code in our server.js code.
app.get('/yourTag', function(request, response) {
var token = request.param('token');
const requestOptions = {
uri: 'https://yourProjectName.herokuapp.com/user/'+ token,
headers: {
Accept: 'application/json'
},
json: true
};
Notes:
(1) Here we have used request-promise. You will need to do npm install (of course, you should have express as well.)
npm install express
npm install --save request
npm install --save request-promise
And, as a reminder, do check your package.json (which you can generate by running “npm init” has the same version as those you install.)
"dependencies": {
"express": "^4.16.4",
"request": "^2.88.0",
"request-promise": "^4.2.2"
},
(2) The url called out in NodeJS server code is follows the convention decided in the python code (@app.route).
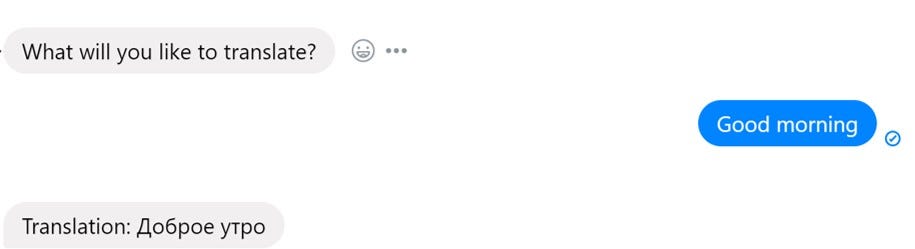
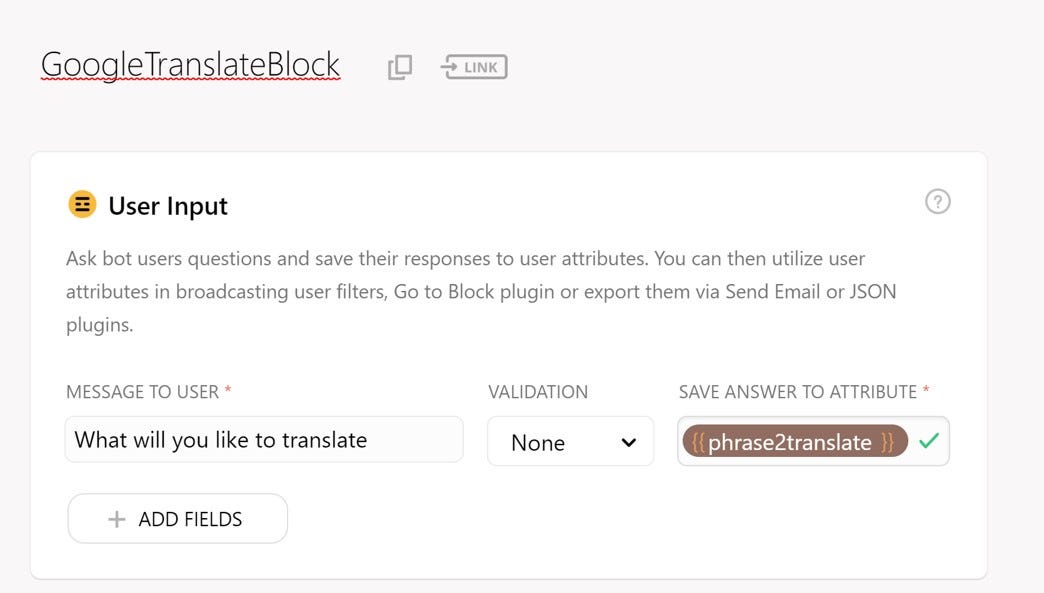
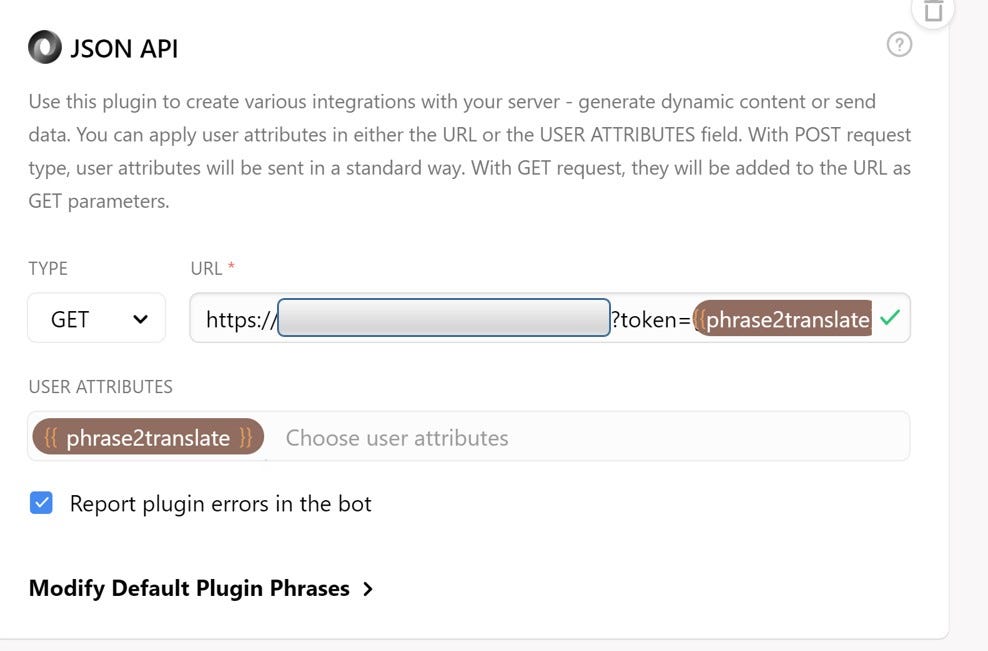
5. The Chatfuel import is rather straight forward. You will need to add a block and create a way to capture the user input, then pass along the user input as part of the JSON API GET URL (same format you have decided on your NodeJS code).
Final words: This is just a quick way to deploy. We are certainly at fault of using too many variable names for the similar things to start out.
As an experiment, we try both NodeJS + Python for different possibilities, but the readers are free to simply it to pure NodeJS or Python implementation.